Installing a Solar System: Step by Step
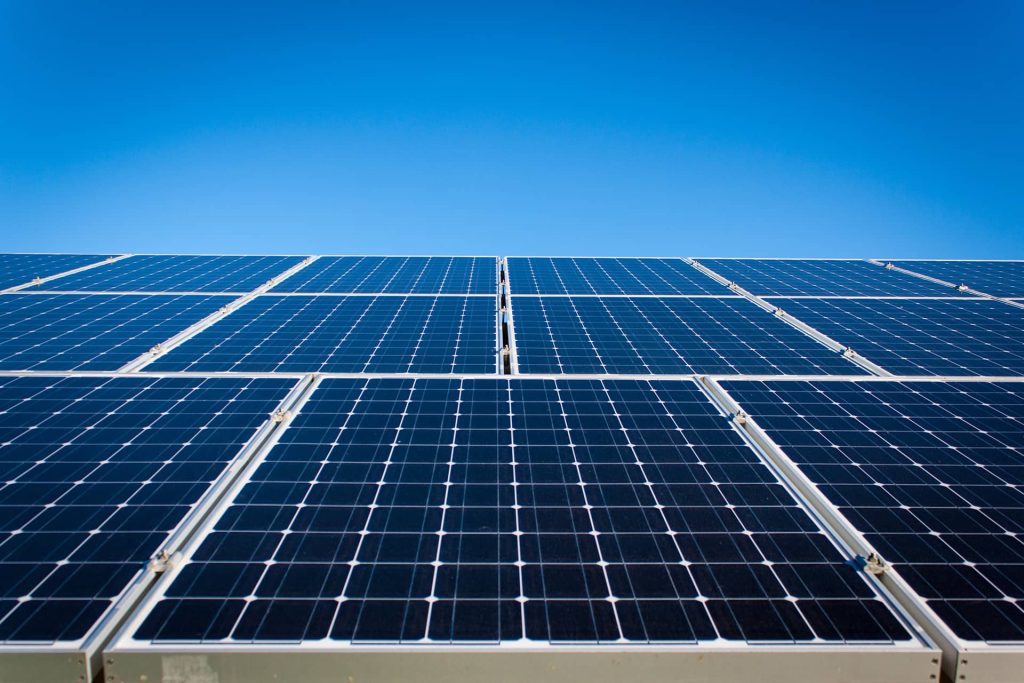
Installing a Solar System: Step by Step https://activeenergygroup.com.au/wp-content/uploads/solar-panels-blue-sky-1-1024x683.jpg 1024 683 Active Energy Group https://activeenergygroup.com.au/wp-content/uploads/solar-panels-blue-sky-1-1024x683.jpgInstalling a Solar System: Step by Step
Solar panel installation is a fast and simple process. It involves installing panels in a specific position on the roof of your home where they can efficiently convert sunlight into direct current (DC) electricity. The DC electricity is converted into alternating current (AC) electricity through an inverter. Your electrical panel is then responsible for distributing the electricity throughout your home.
Power conversion is clean and simple, and the installation process follows suit.
We’ve outlined the installation process, step by step, to provide you with a better understanding of how solar panels will integrate into the structure of your home. Their presence goes unnoticed, but their impact on your lifestyle will be significant!
Preparations
- Home assessment
During the initial home assessment, a member from our team will evaluate your home and ensure it’s structurally sound for solar installation. Prior to this step, our team will run through a pre-solar checklist with you to ensure solar panels are suitable for your roof orientation and power usage. This assessment will include determining which products are best suited to you home.
- Roof preparation
Your roof will undergo a thorough inspection in preparation for panel installation. This includes conducting maintenance and making any necessary adjustments. Solar panels are designed to last for 20+ years, so it’s crucial we ensure your roof is in a condition that will support the lifetime of your solar panels.
Starting the Installation
- Electrical wiring
Once your roof is prepared, our team will begin the electrical wiring process. Wiring involves connecting the electrical panel to the general power system.
- Panel placement
Once the wiring is in place, a mounting system (to support the panels) is installed onto the roof. Once it’s fixed to the roof, the solar panels are secured into the mounting system. They will be fitted at an angle to receive maximum sun exposure.
The mounting system is generally made from stainless steel or high grade aluminum to ensure its longevity, and it’s the only part of the entire system that will actually come into contact with your roof. We guarantee a strong and reliable mounting system that will effectively protect the panels.
Completion
- Inverter connection
Lastly, the panels are connected to the inverter(s), which converts DC energy into AC energy to power your home.
- Final evaluation
Once the installation is complete, a final evaluation of the system is conducted. Upon approval, it is then connected to the meter and will start to generate electricity. Depending on the type of meter you currently have, you may be required to purchase a new meter to measure your energy consumption. Our team will verify this prior to installation to ensure there are no surprise costs in the final stages.
How Long Does Installation Take?
Installation time is dependant on the size of your home and the number of panels needed. Generally, only one day is required for the complete installation process. If roof maintenance, adjustments or tree removal is necessary, additional preparation days may be required before the system is in working order.
Get in touch with the team at AEG
Installation is as simple as that! No major renovations or building projects are required. Get started by talking to our team today and start powering your lifestyle with clean energy.
Contact us for a free consultation
Contact Us
Contact us today to get a free consultation and find out how much
you could save on your power bill!
Phone : 0456 800 232